Cutting-edge Strategies to Drywall Installation in Edmonton
Wiki Article
Achieve Professional-Quality Results With Our Drywall Installation Overview
Are you tired of irregular wall surfaces and visible seams? Look no more. Our drywall setup guide is below to aid you attain professional-quality results. With step-by-step instructions and expert strategies, you can transform your area into a sleek and smooth masterpiece. From preparing the surface area to finishing touches, we have you covered. So why opt for much less when you can have wall surfaces that equal those of a professional? Prepare yourself to elevate the visual of your home or office, since our guide is about to introduce all the keys to a remarkable drywall setup.Devices and Materials Needed
To successfully mount drywall, it is vital to gather the needed tools and products. This guarantees that the setup procedure runs smoothly and successfully, resulting in a specialist finish. The initial and essential tool is an utility blade with a sharp blade. This will be used to cut the drywall sheets to the called for shapes and size. Additionally, a drywall saw or keyhole saw is needed for making more elaborate cuts, such as around light buttons or electric outlets. A measuring tape and a straight edge are likewise vital tools when it pertains to gauging and noting the drywall accurately.
In terms of materials, drywall screws are crucial for securing the drywall sheets to the wall surface studs or ceiling joists. Joint compound, additionally recognized as mud, is made use of to smooth and load out the joints in between the drywall sheets.
Last but not least, do not forget to have safety and security devices handy, such as shatterproof glass, a dust mask, and handwear covers. These will certainly secure you from any kind of prospective threats throughout the setup process. By collecting all the needed tools and materials, you will be well-prepared to accomplish professional-quality cause your drywall installment project.
Preparing the Surface
Before beginning the installment process, it is essential to properly prepare the surface where the drywall will be set up. This action is crucial for achieving professional-quality results. To begin, remove any existing wallpaper, loosened paint, or particles from the wall. Utilize a scraper or sandpaper to ravel any type of harsh spots or blemishes. It is very important to make certain that the surface is clean, smooth, and without any kind of dust or dust fragments that could influence the bond of the drywall.These need to be fixed prior to mounting the drywall. Use a joint substance or patching product to load in any kind of spaces or harmed locations.
After the repair services have been made, it is recommended to apply a primer to the surface area. This will develop an uniform base for the drywall and assist the glue bond better. Permit the primer to completely dry totally prior to waging the installment.
Measuring and Trimming Drywall Sheets
After ensuring that the surface area is effectively prepared, the following step in the drywall setup process is to properly determine and reduce the drywall sheets. To begin, determine the height and size of the area where the drywall will certainly be set up.As soon as the dimensions are taken, transfer them onto the drywall sheets making use of an utility or a pencil knife - drywall Edmonton. Make certain that the markings are exact and clear to avoid any type of errors throughout the cutting process. It is suggested to use a straight side, such as a T-square or a level, to assist the cutting tool and ensure straight and accurate cuts
When reducing the drywall sheets, make use of a sharp energy blade or a drywall saw. Rating the drywall along the marked lines, applying sufficient pressure to puncture the paper layer yet not the plaster core. After scoring, carefully snap the drywall along the scored line by flexing it away from the cut side. Utilize the utility blade or saw to cut with the gypsum core from the backside of the drywall.
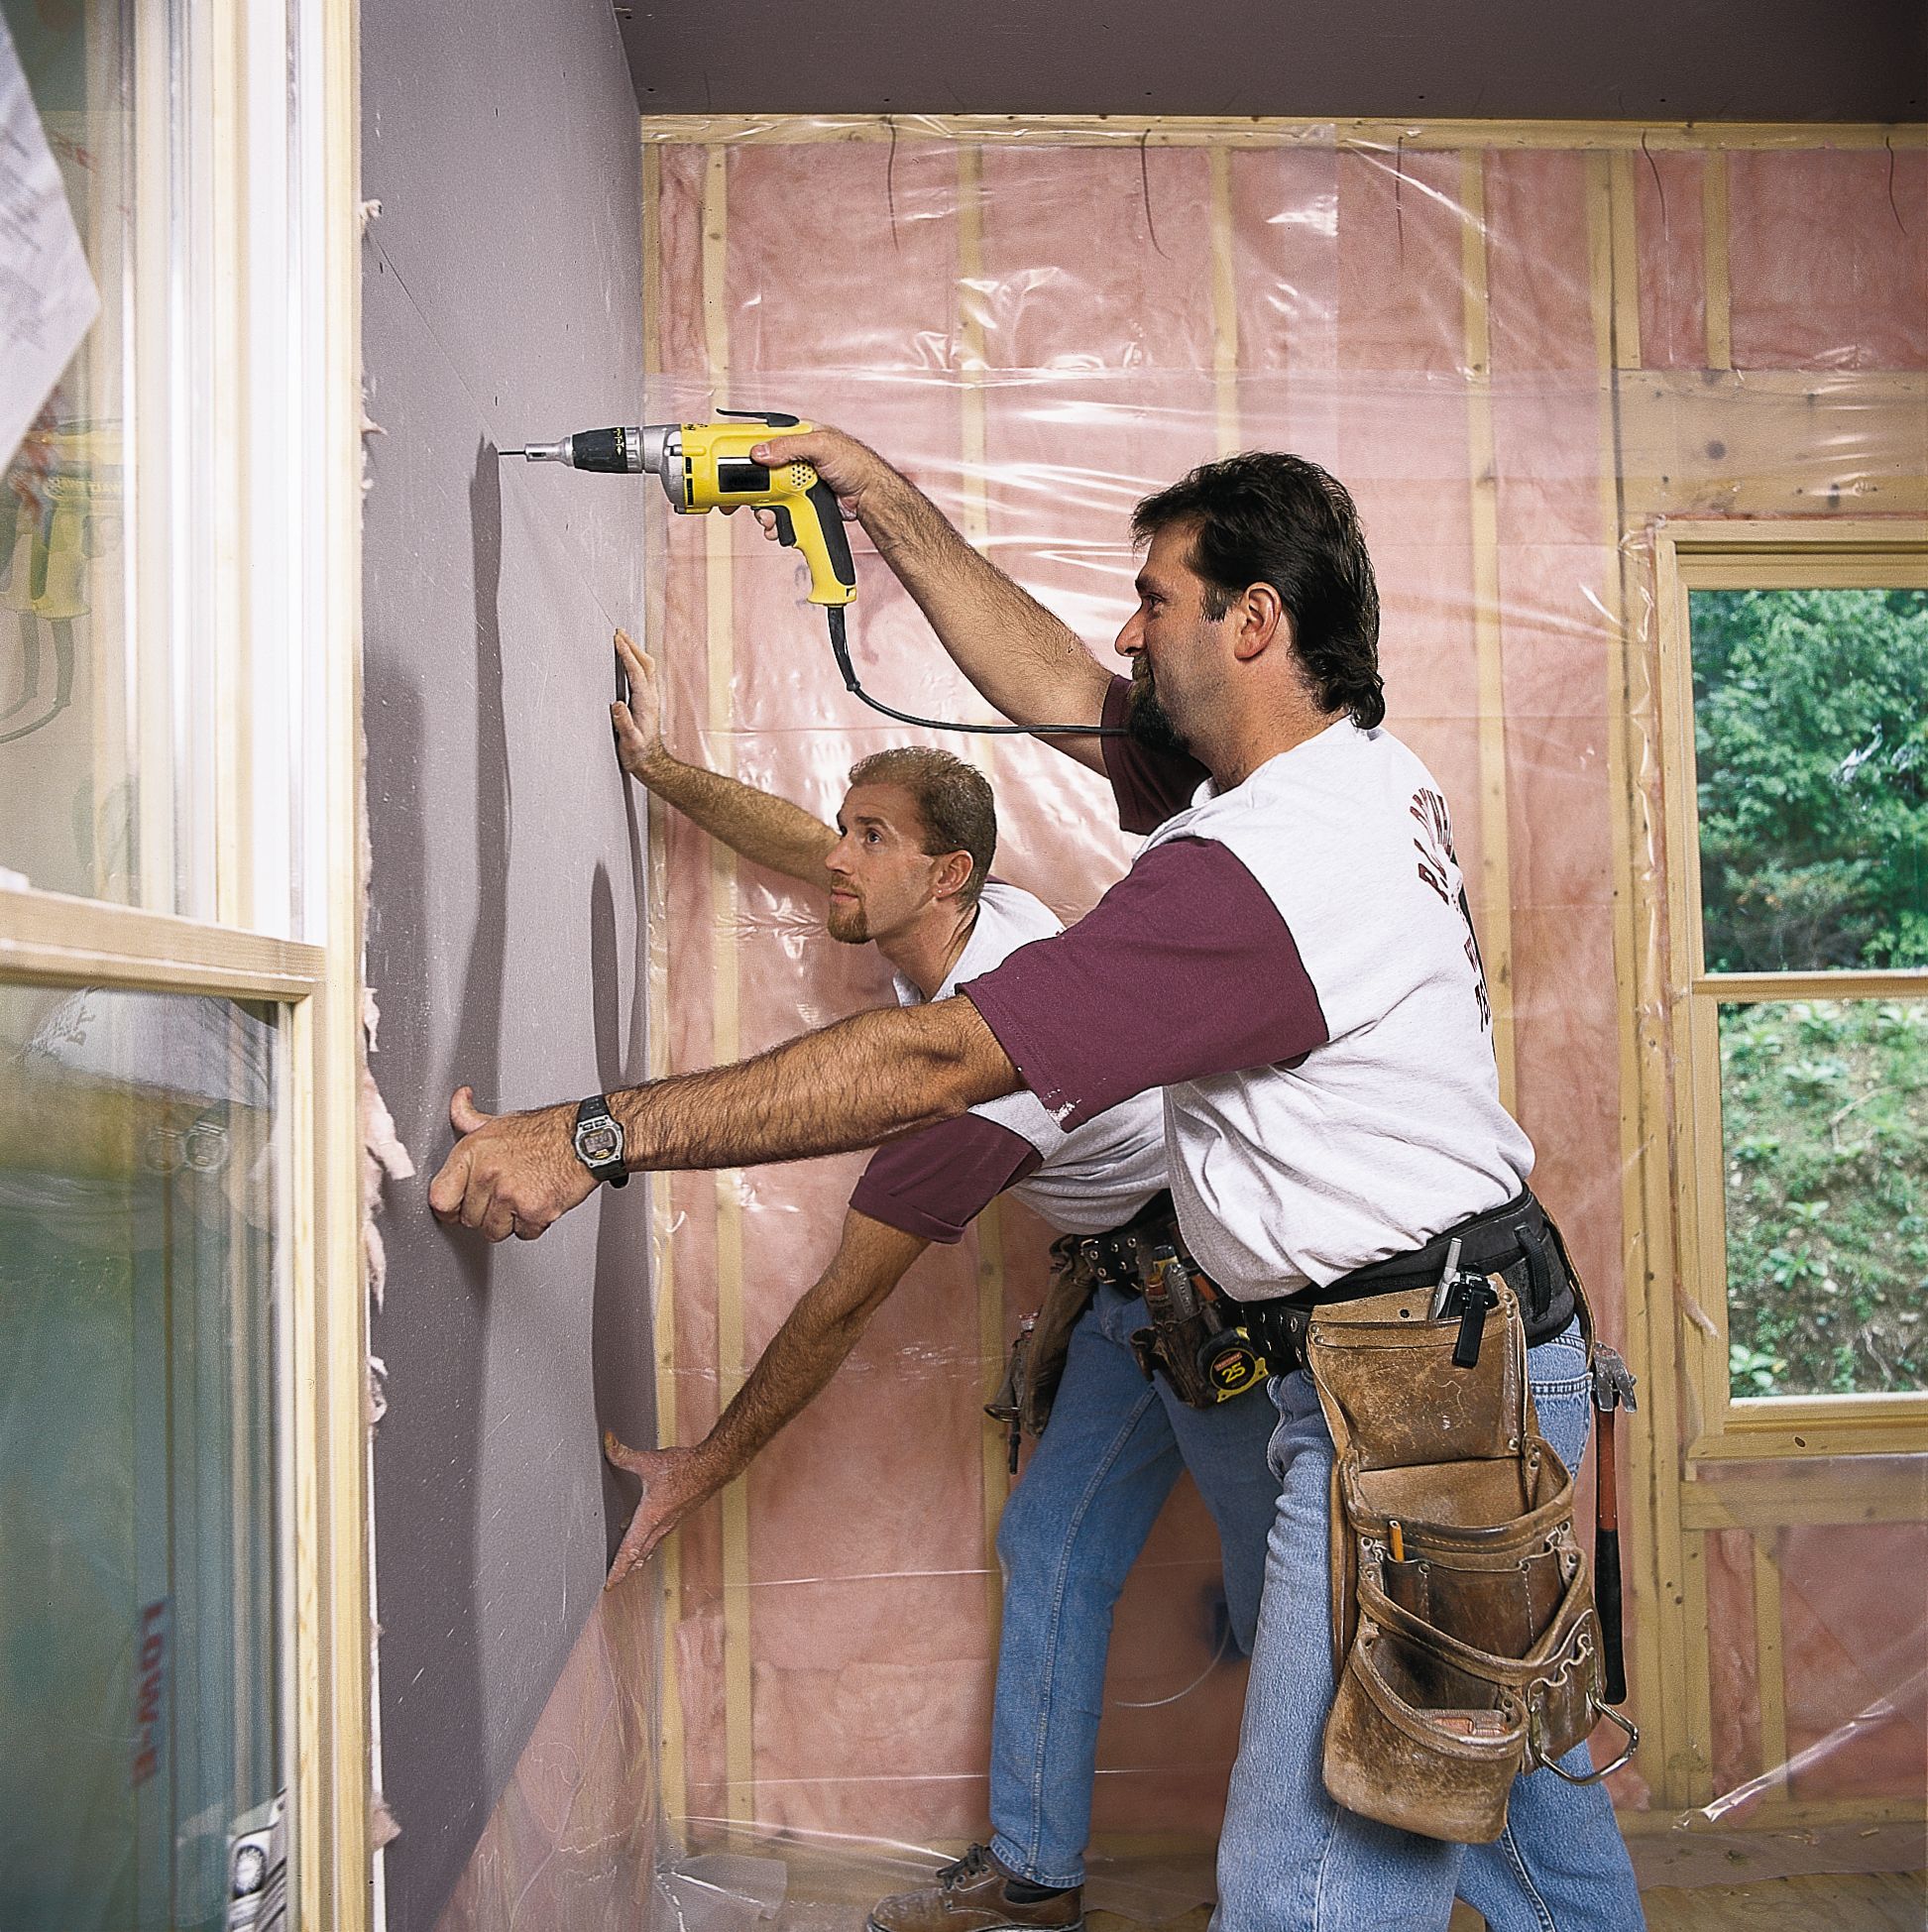
Setting Up Drywall Sheets
For an effective drywall installment, it is very important to adhere to appropriate techniques and guidelines when setting up the drywall sheets. Mounting drywall sheets needs cautious preparation and accuracy to make sure a smooth and professional coating. Below are the steps to comply with when setting up drywall sheets:- Begin by placing the first sheet in the edge of the room, making certain that the conical edges are dealing with outwards.
- Utilize a drywall lift or assistance from another individual to hold the sheet in position while it is safeguarded to the wall studs with drywall screws. Beginning by affixing the sheet at the center of each stud and work your means external.
- Leave a small space, roughly 1/8 inch, between each sheet to enable expansion and tightening.
- Proceed installing the remaining sheets, surprising the joints to create a stronger and much more steady wall.
- Cut openings for electrical outlets, switches, and other required openings using a drywall saw or rotating device.
- Use joint tape and joint substance to cover the seams between the sheets. Apply numerous layers of joint substance, enabling each layer to dry and sanding between layers for a smooth finish.
Ending Up Methods and Tips
To achieve a refined and professional appearance for your drywall installment, it is vital to master the completing suggestions and methods. After the drywall compound has dried out, utilize a fining sand block or sandpaper to smooth out any type of irregular areas, ridges, or bumps.One more essential tip is to use a guide prior to painting. Priming the drywall helps the paint stick much better and offers an uniform surface area for a smooth finish. Additionally, using a high-grade paint roller and brush will ensure a professional-looking paint task.

Lastly, taking notice of the details is critical for a flawless coating. Take the time to fill in any tiny spaces or splits with caulk and usage corner beads to protect the corners from damage. Sand, prime, and paint these locations to effortlessly blend them with the remainder of the wall.
Conclusion

After ensuring that the surface is correctly prepared, the following action in the drywall installment procedure is to precisely determine drywall Edmonton and reduce the drywall sheets.When reducing the drywall sheets, use a sharp utility knife or a drywall saw.For an effective drywall setup, it is vital to comply with proper strategies and guidelines when mounting the drywall sheets. Make use of a drywall lift or support from an additional person to hold the sheet in location while it is secured to the wall surface studs with drywall screws. With the appropriate tools and materials, preparing the surface, cutting and measuring drywall sheets, and using the appropriate completing strategies, you can finish your drywall task successfully.
Report this wiki page